When I first talked about Gophish at BSides SATX nearly 3 years ago, I wanted to demonstrate how quick it was to get up and running. I asked the audience to time me as I did a live installation on a fresh server, which took exactly 30 seconds.
Not bad.
I’ve always wanted Gophish to be easy and quick to install. It’s an example of building empathy into security tools, since the people using Gophish likely don’t have time to work through a long installation process. In fact, this is why I wrote it in Go! The ability to just download and run a binary was a game changer compared to previous phishing frameworks.
But sometimes people want to play around with Gophish without the time commitment it takes to set up and launch a test campaign. This is why I’ve wanted to create the ability for people to download and run a demo instance of Gophish with generated fake data. And, like normal installation, I wanted this to be easy. Specifically, I wanted to make it possible with a single command that could fit in a tweet.
I’m happy to announce that it finally happened.
Want to play with Gophish? Now you can create a demo instance with a fake campaign already set up - all with just a single command 🔥:
— Jordan Wright (@jw_sec) January 1, 2019
docker run -ti -p 3333:3333 --rm gophish/demo
Enjoy! pic.twitter.com/1OMzrEcSSe
These next two posts dive into how I created this demo, which you can find on Github. This post focuses on how I wrote a script to generate a live (but fake) campaign. In the next part, I’ll detail how I leveraged Docker to make the demo work in a single command.
Generating the Data
The Gophish demo started as a script I wrote to load fake data into a Gophish installation. This helped me reproduce various issues that were reported via Github.
This script used the Gophish Python API client to interact with the Gophish API. To start, I needed to create groups, an email template, a landing page, and a sending profile.
A key challenge when creating the demo is that I wanted the data to appear realistic. To do this, I relied on the Python faker library to generate users and the devices used to generate fake events.
The faker library creates fake data using a number of providers, with each provider knowing how to generate a certain kind of data. For example, the profile provider generates data for a fake online profile, including a name, email address, username, and more.
To use faker, we first created an instance of the faker.Faker generator which makes it easy to access various providers:
from faker import Faker
fake = Faker()
We could then generate fake data. For example, here’s how we’re creating users in a group:
targets = []
for i in range(0, num_members):
    first_name = fake.first_name()
    last_name = fake.last_name()
    email = '{}.{}@example.com'.format(first_name, last_name)
    targets.append(
        User(first_name=first_name, last_name=last_name, email=email))
group = Group(name='Test Group', targets=targets)
group = api.groups.post(group)Note: I created the email manually since the
profilegenerator creates a random email that isn’t related at all to the user’s name.
Sending Campaign Emails
A requirement I had for the demo was that it needed to actually send the campaign emails. Well, sort of. I really just wanted to stay away from mocking Gophish events through something like manually creating database entries, since that:
- Creates more work
- Can result in an inaccurate experience using the demo
So I want to send emails but I don’t want to actually send emails. To do this, I wanted to stand up a local SMTP server that acted as a black hole. From Gophish’s perspective, emails were sent successfully when in reality they were just discarded.
To do this, I relied on the aiosmtpd Python library. The library works by creating a Controller which knows how to handle SMTP connections via a handler. For our use case, we can rely on the built-in Sink handler. From the docs:
Sink- this class just consumes and discards messages. It’s essentially the “no op” handler.
Here’s an example showing how to create and start the local SMTP server:
from aiosmtpd.handlers import Sink
from aiosmtpd.controller import Controller

smtp = Controller(Sink(), hostname='127.0.0.1')
smtp.start()
I can then create the sending profile in Gophish using the smtp.hostname and smtp.port.
With all the dependencies created, the campaign launched, and the emails sent, it’s time to generate some fake events.
Generating Fake Events
Gophish tracks campaign events by generating a unique ID for every recipient, called the rid. To generate fake events, I used the API to gather the created rids, making a series of HTTP requests to simulate emails being opened, links being clicked, data being submitted, and emails being reported.
I also wanted a way to show off the device details section of the campaign results that we recently added:
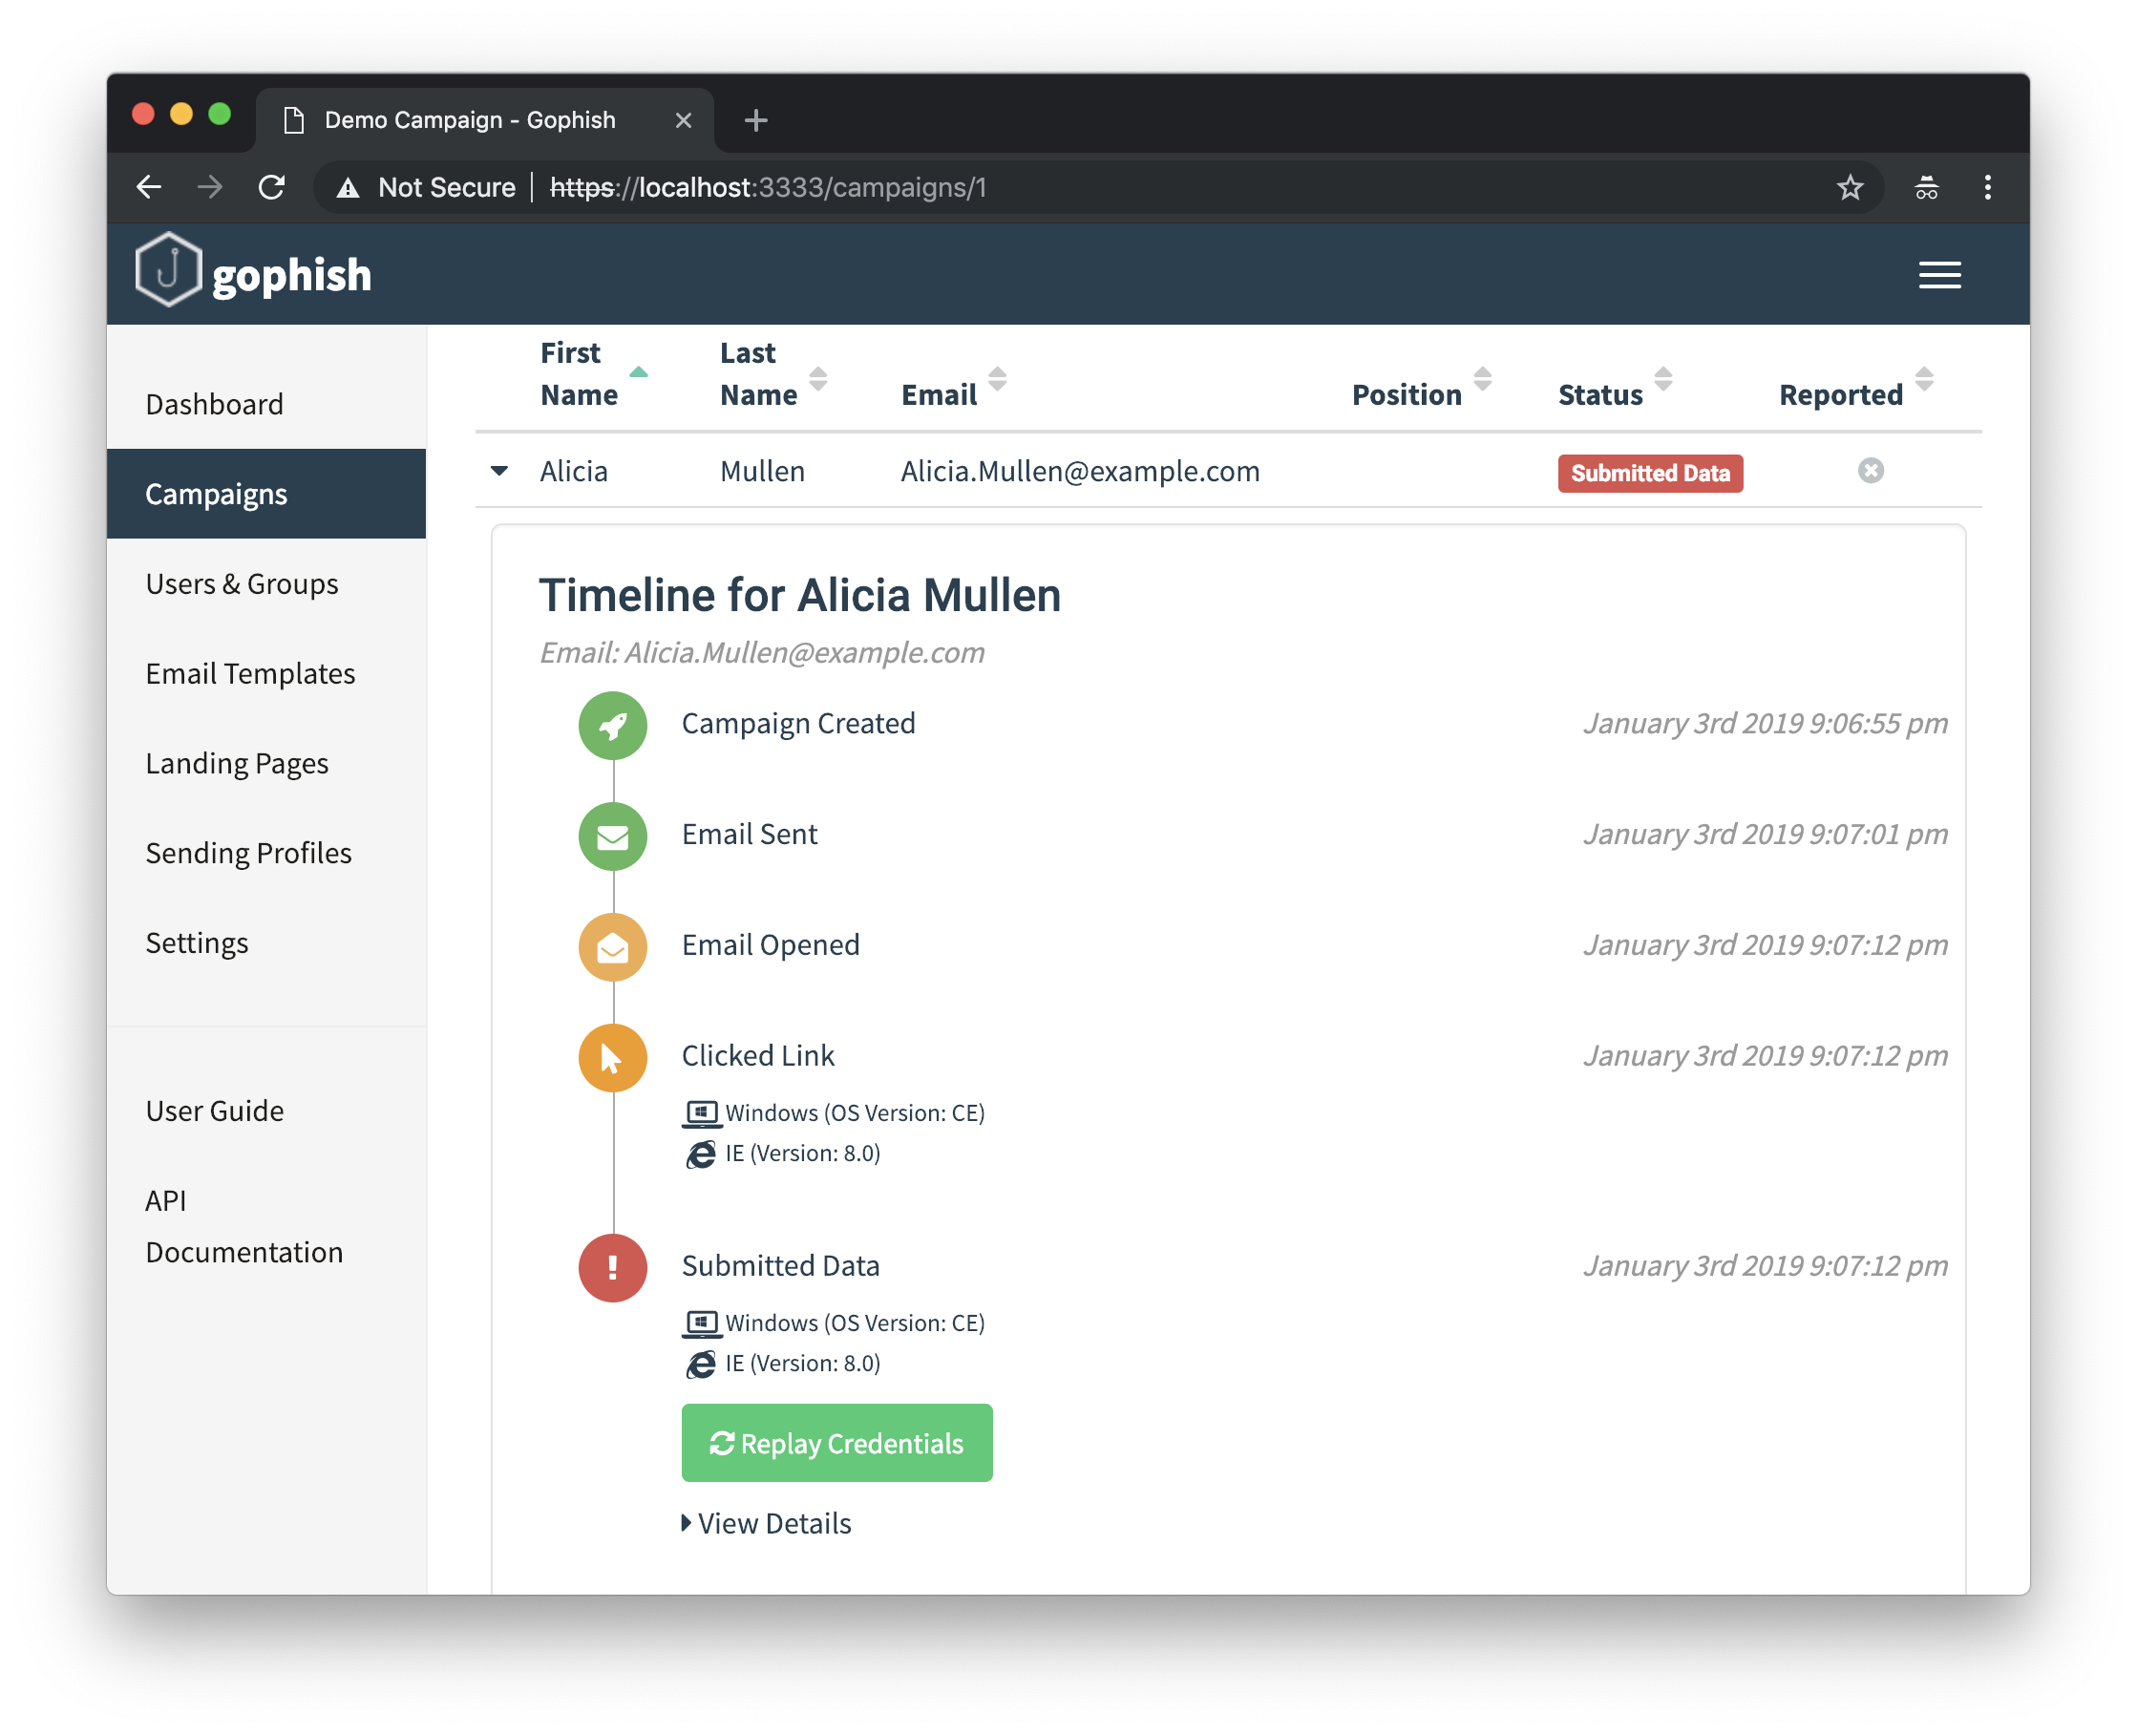
To do this, I again relied on the faker library, using a call to faker.user_agent() to get a fake user agent:
>>> fake.user_agent()
'Mozilla/5.0 (X11; Linux i686) AppleWebKit/5321 (KHTML, like Gecko) Chrome/19.0.898.0 Safari/5321'
Finally, I wanted the data being submitted to appear reasonably realistic. This gave one last opportunity to use faker to generate possible passwords to submit to Gophish:
>>> fake.password()
'+Yjt4*fd39'
>>> fake.password()
'D*b1!NdJ&T'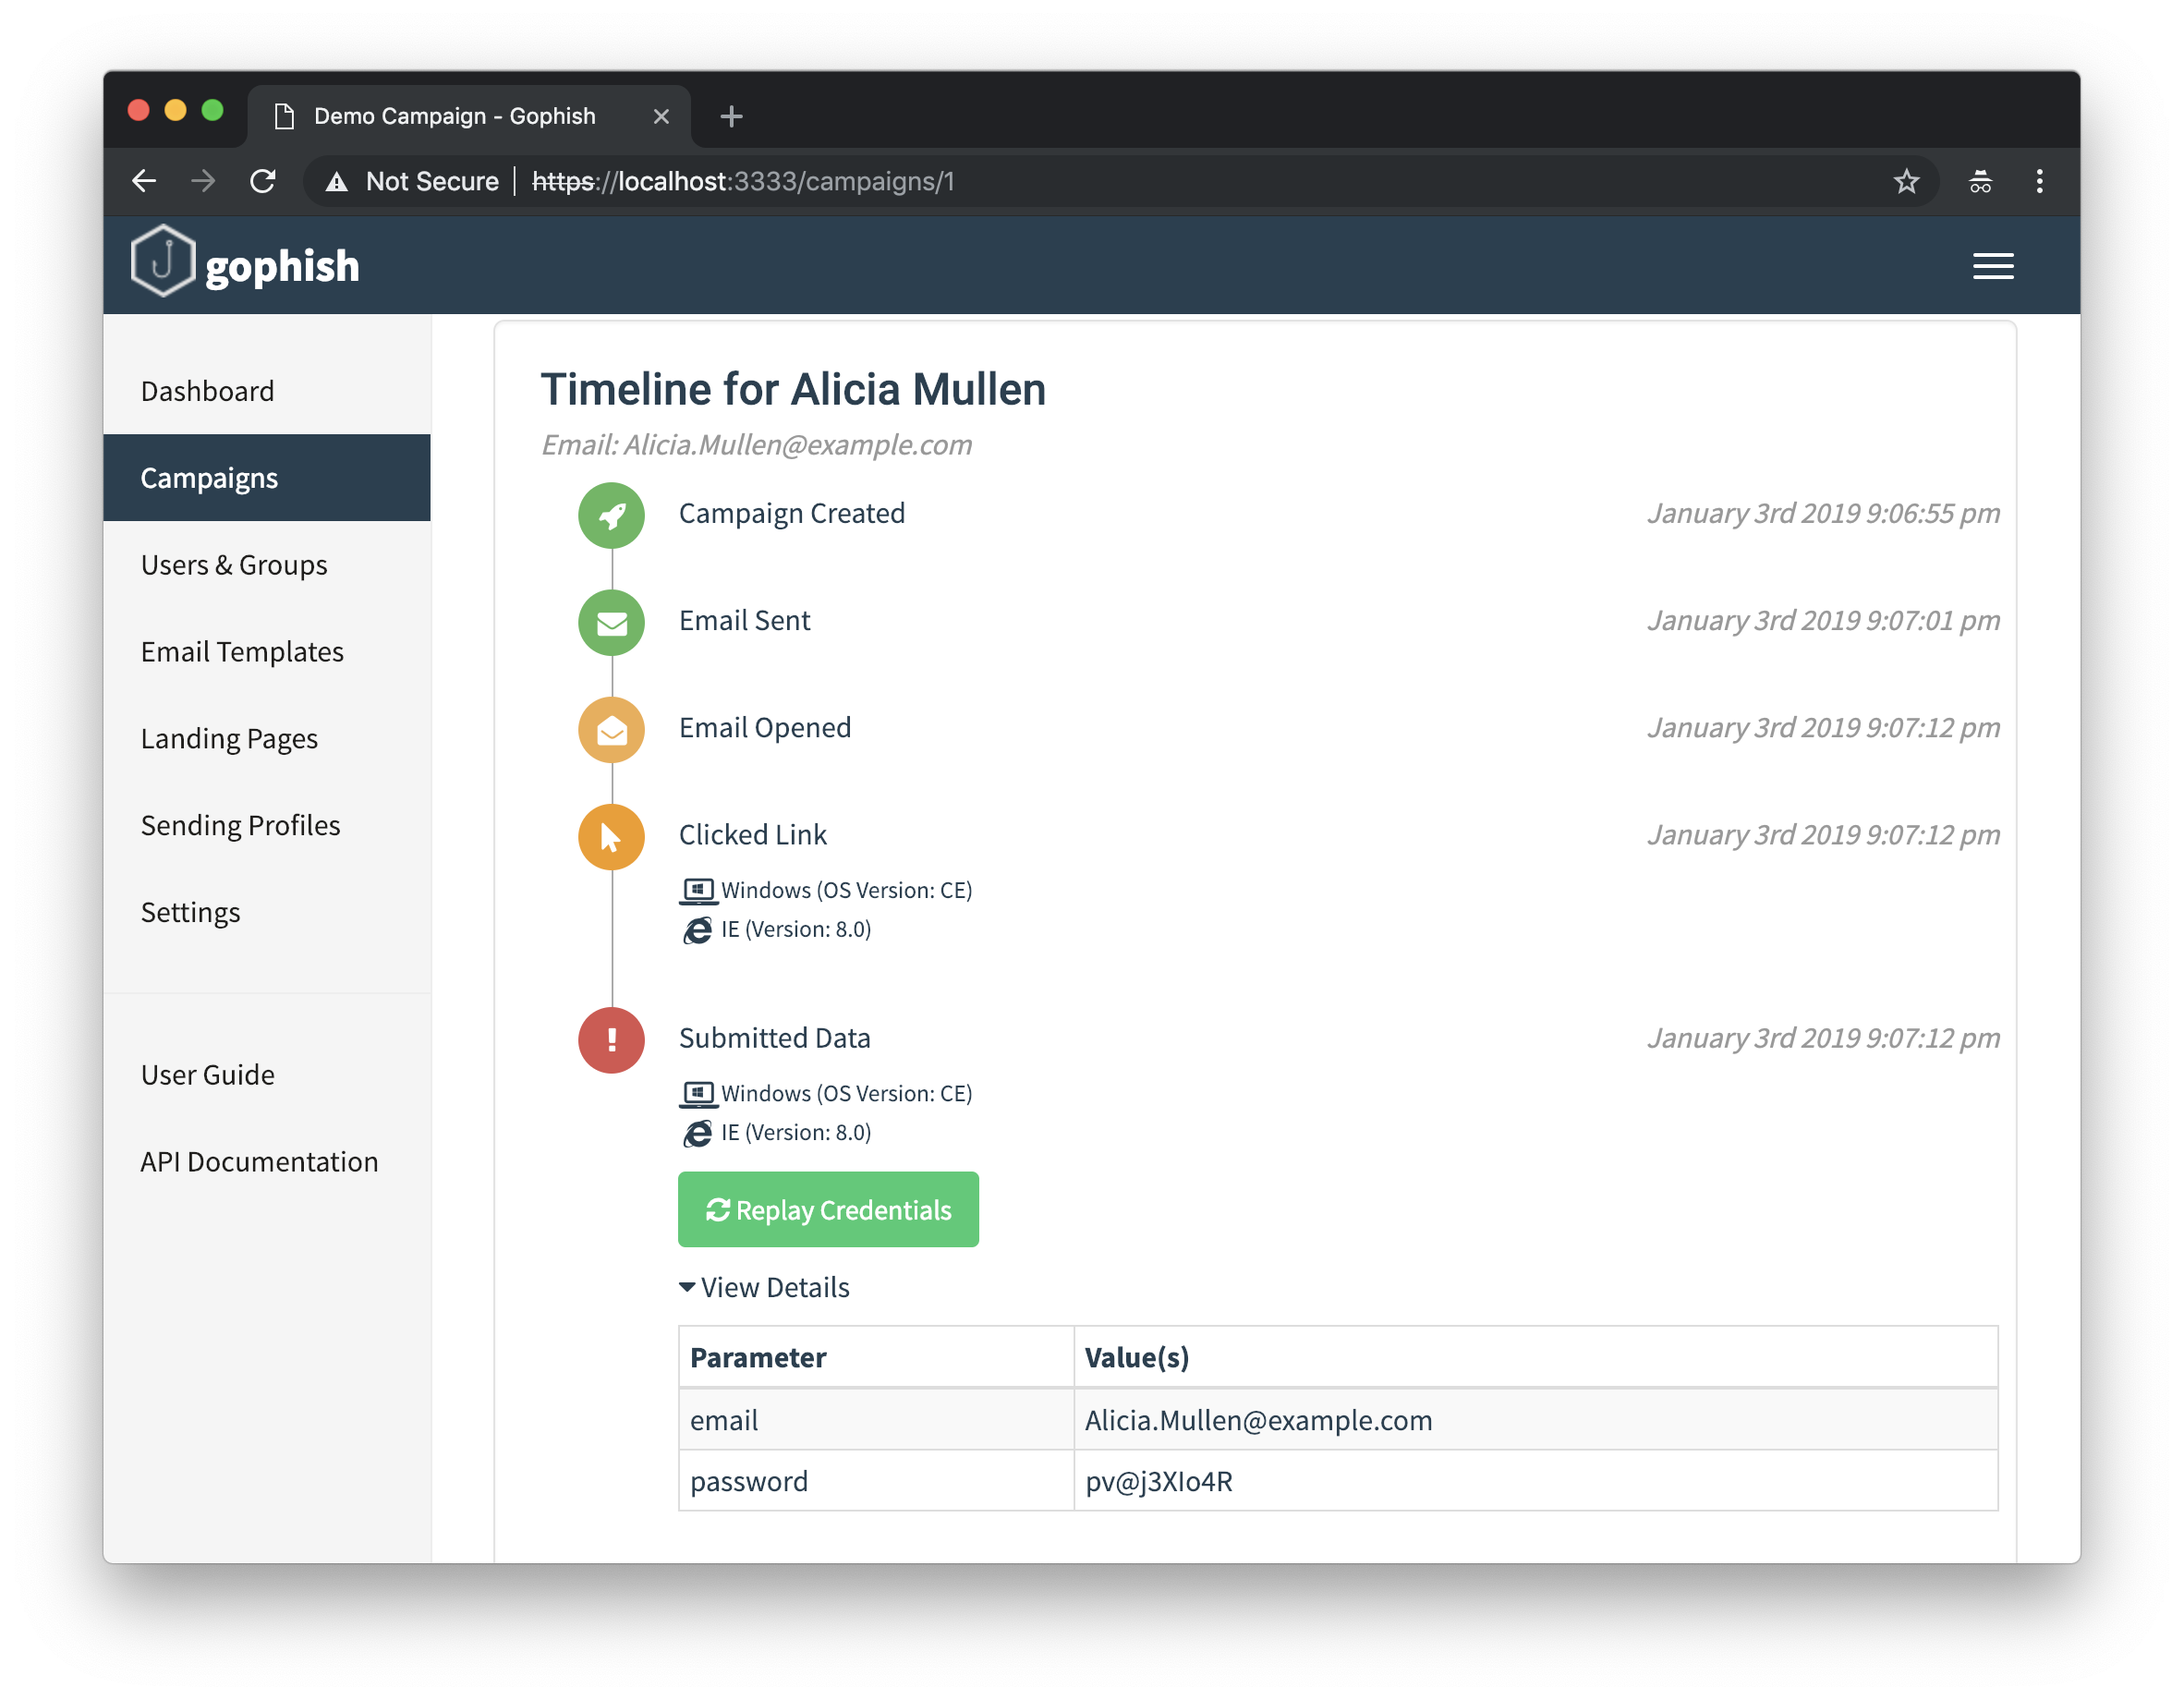
Enjoy!
With this demo, like with Gophish itself, it’s important to me to do the little things right, even if it’s sometimes tricky to do so. That said, I’m really excited about this first pass at the demo, since it gives people the opportunity to explore the features Gophish has to offer without having to launch an entire campaign.
In the next post, I’ll talk about how I was able to turn this campaign generation script into a full-blown demo that can be run in a single command. As always, please don’t hesitate to file issues for the demo on Github and, in the meantime, enjoy using Gophish!